So, how do I start my process for realistic portraits in a digital format? Let’s take one of the commissions I have done and break it into parts for these small tutorial.
The commissioner is Ann Aubitz and it’s a portrait for her book “Katlyn Conquers the World.” If you would like to order a copy of this wonderful book, you can purchase it here: http://www.katlynconquerstheworld.com/#!purchase/cd9q
It all starts with a drawing and being scanned with a CANONSCAN LIDE 200- In a 400dpi- Grayscale setting. I scan through Photoshop first via IMPORT> WIA SUPPORT. And this is the result:
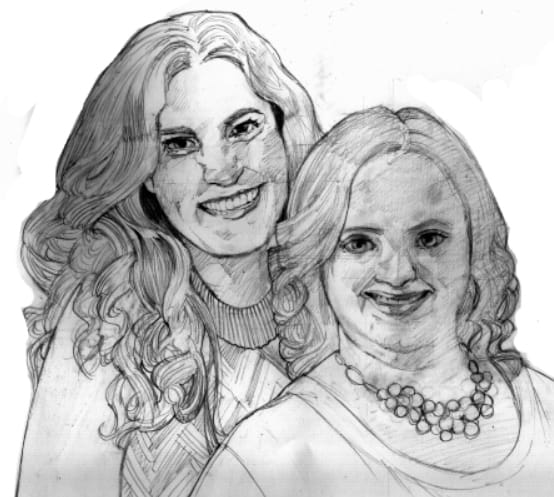
I try to use different pencils, starting with the hardest (different H numbers) to softest (B pencils, using 6 or 7 for darkest spots only). Even though it’s pretty, it’s not soft enough to render. So what’s next?
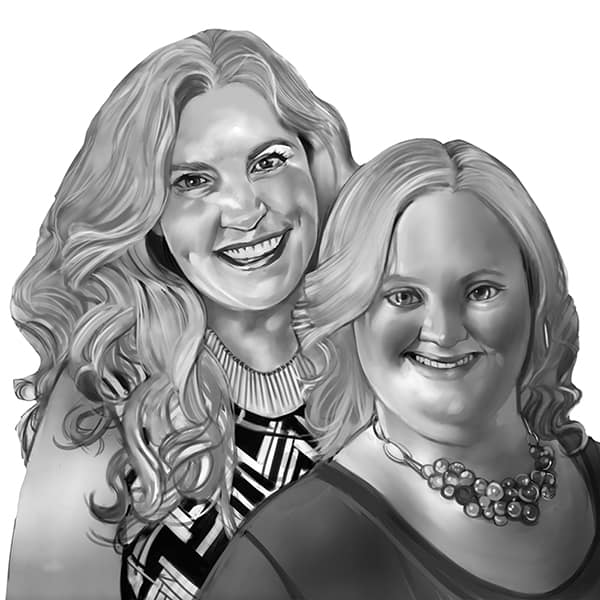
I go around and soften and render in Grayscale the portrait. I try to check my reference and fix little spots I missed in the penciling process. You can always fix your drawing, it’s never a one time only process. Be honest to yourself and fix the mistakes, since it helps your drawing in the long run! But what about the colors?
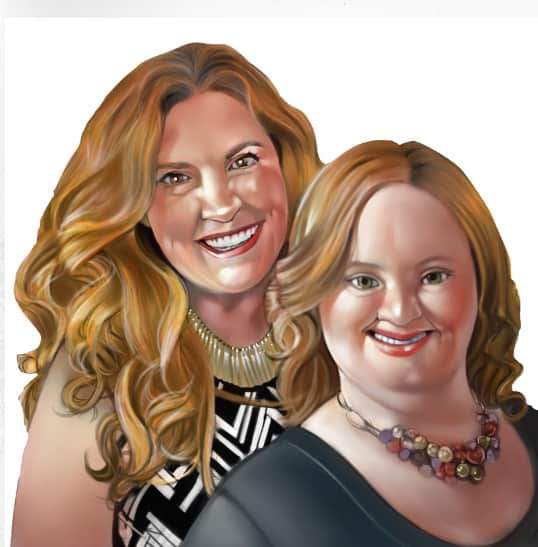
We add a DARKEN layer with color. Use a little bit of reds where blood could concentrate (cheeks, nose, forehead, shoulders). Right now it looks burnt but it’s only the beginning to add a basic color to the portrait.
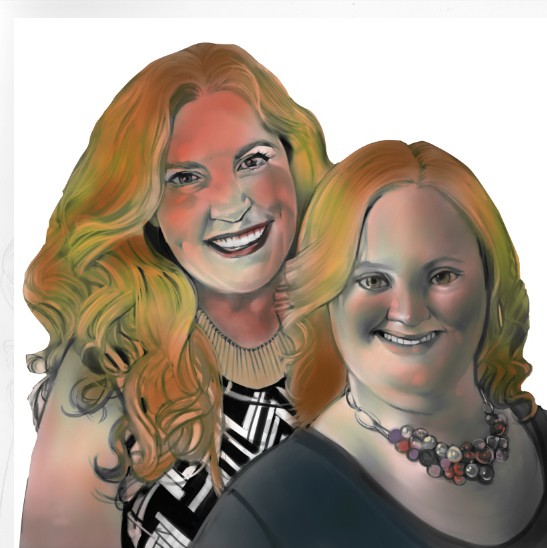
Make a copy of your DARKEN layer and then switch to COLOR. On this layer add more skin colors and start rendering with different colors. It looks more solid as you add and combine the colors together. But you still have to make them pop to pump that portrait up.
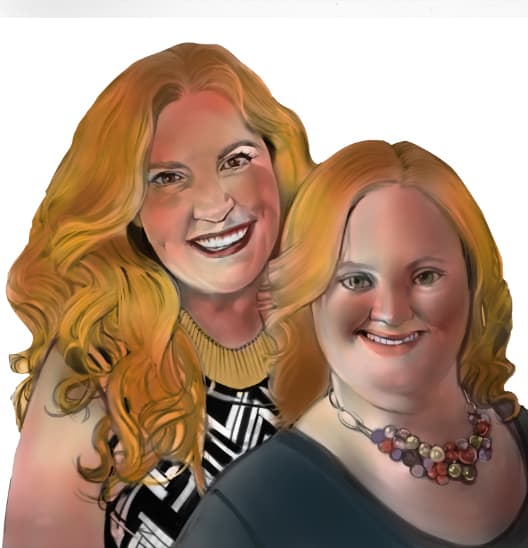
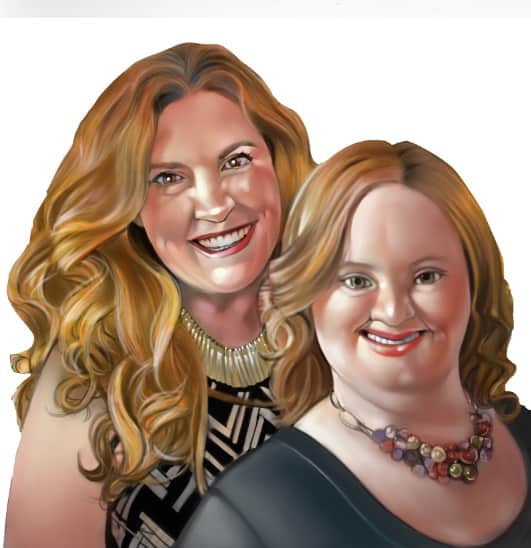
At this point is more of a traditional approach with adding a NORMAL layer on top of these two and add the colors necessary to the portrait to pop. Some would stop here, but still, aim for a little bit more, the shirt looks to plain and the hair might need more work. Hmmm…
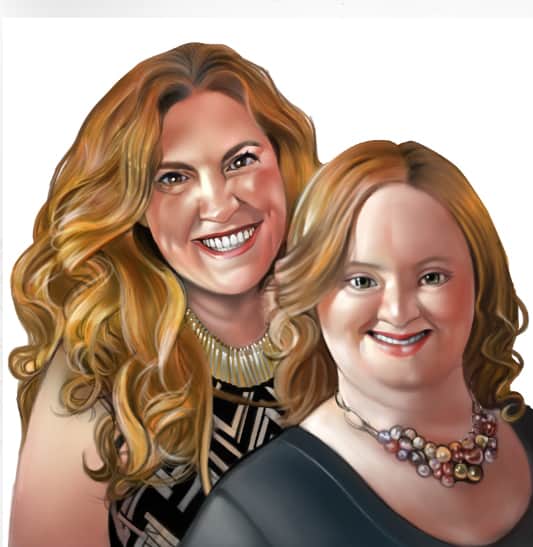
All right, add a little bit of gray on another MULTIPLY layer onto the clothes, the teeth and some shadows on their faces but lightly…
Then add another NOTMAL layer and work and soften the outline of the hair and their hairs themselves as well as little details missed on their faces, teeth, etc. But some parts are still too strong (their cheeks for example).
Soften them a little bit more… and it’s done!
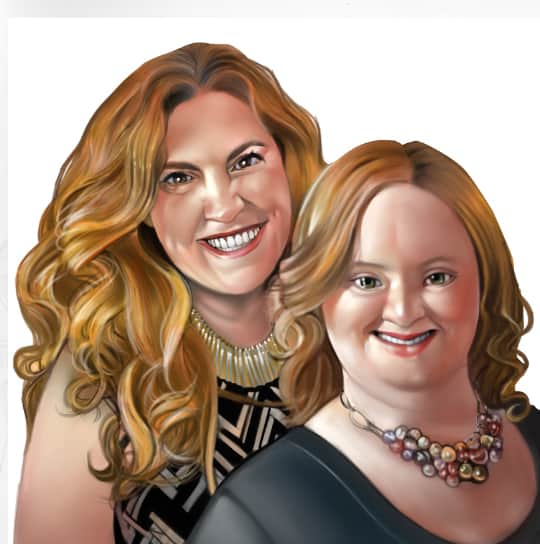
The point is, to always remember to keep asking yourself, “does it pop like I want to? Is it making the portrait show the person or it’s too plain?” and keep pushing yourself, allow and forgive yourself into making mistakes and learn from them. Don’t be afraid of color and working hard!